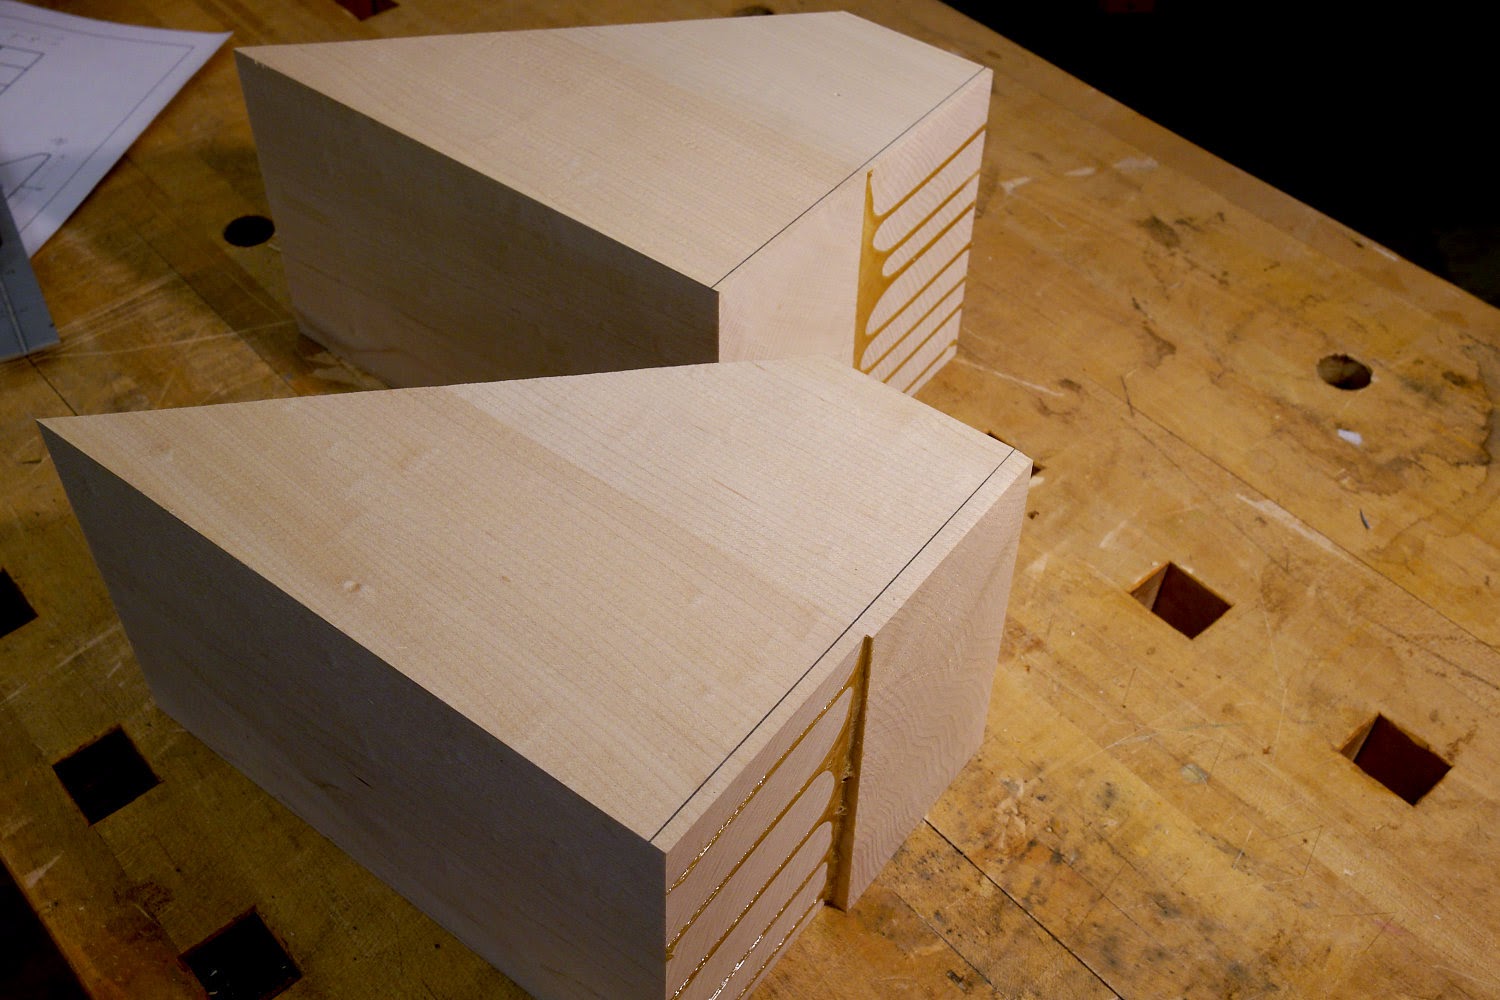
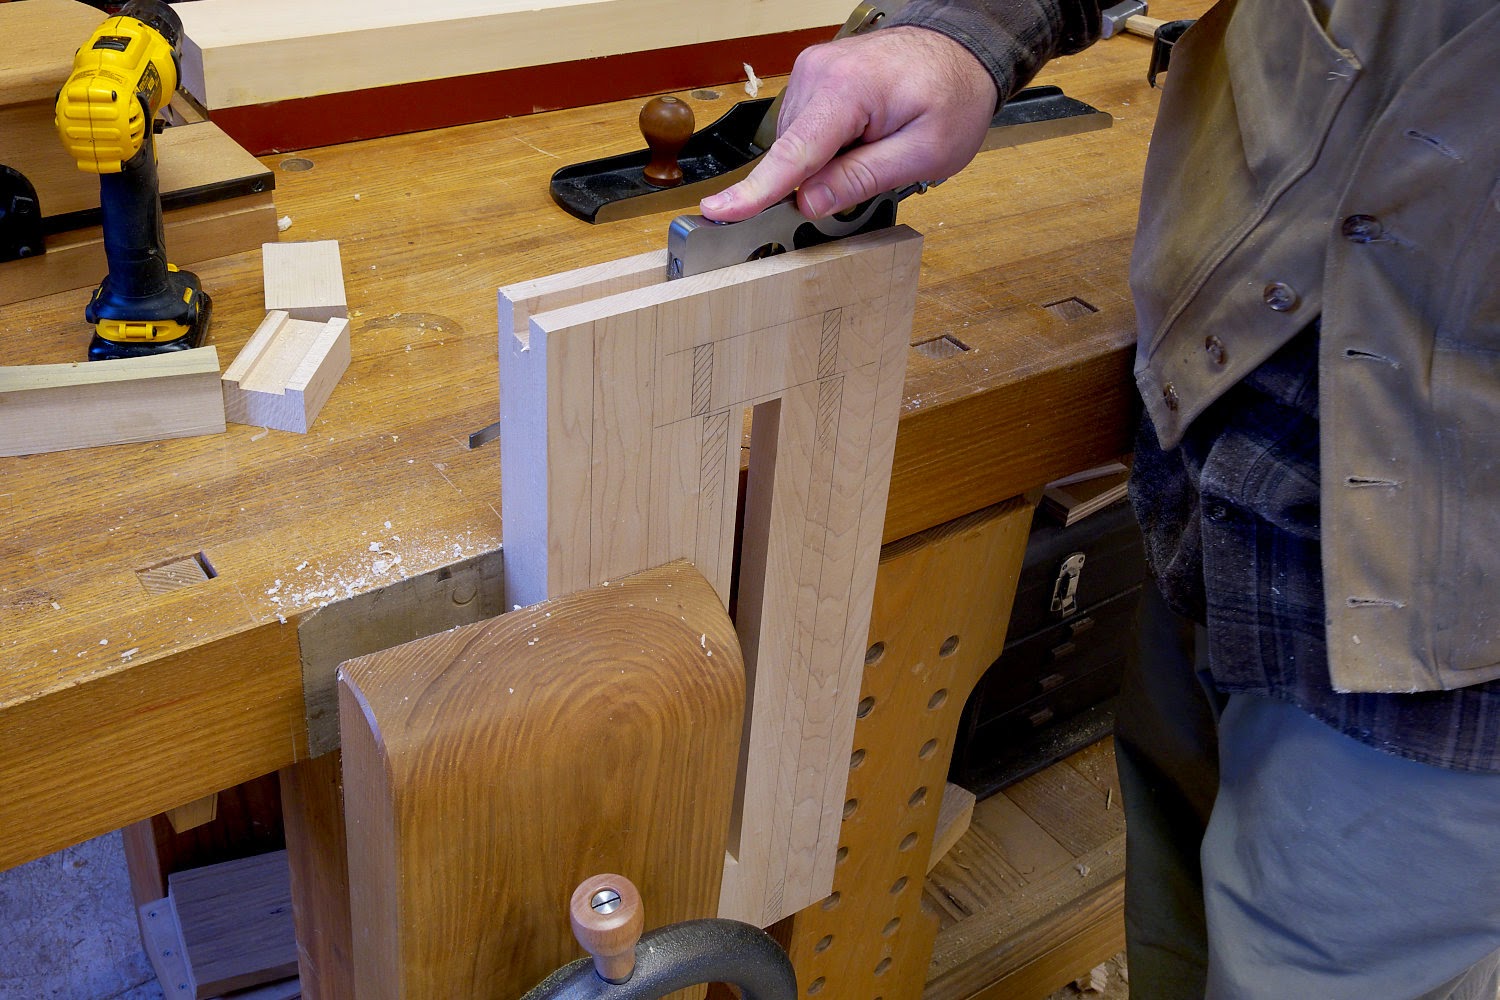
This morning I got started by squaring up the jaws. The back face needs to be 90 degrees to the bottom so I have a reference surface for milling the grooves in the bottom. I marked lines on one face, then flipped the jaws over to do the other face.
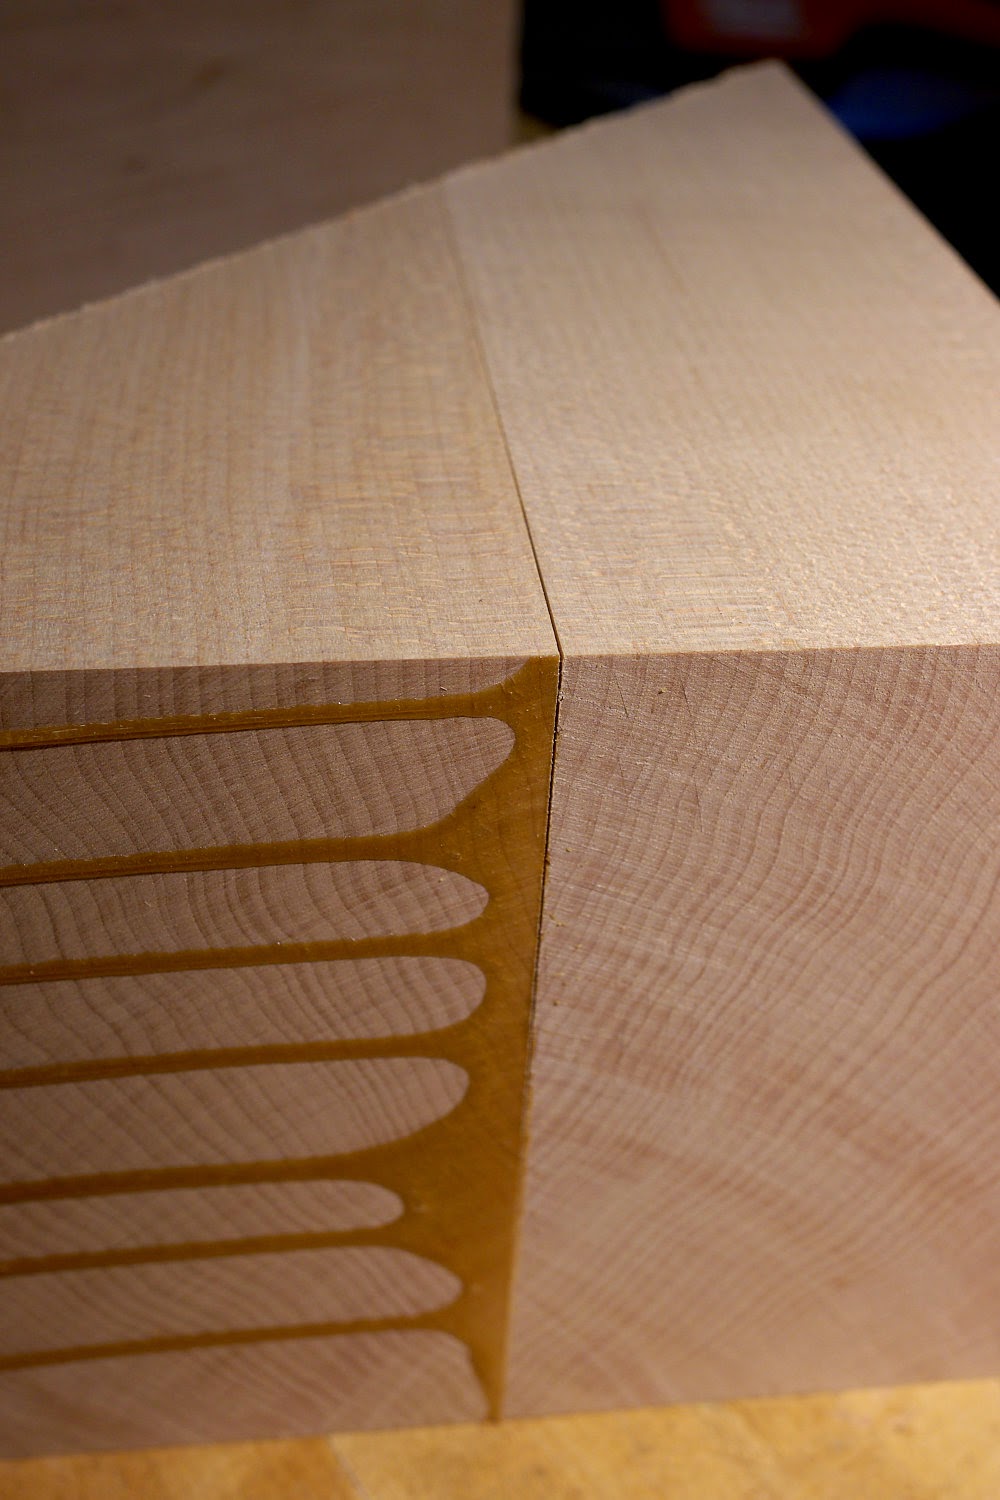
For some reason the joint on the other face had opened up. Lots of potential reasons for this. Pick your favorite. I don't care. These were milled to final height, so I can't rip and reglue without loosing material, although I may do just that, and let the jaws be 1/8" shorter than the original. It wouldn't affect anything. Still, a dissapointment.
On to other other tasks.
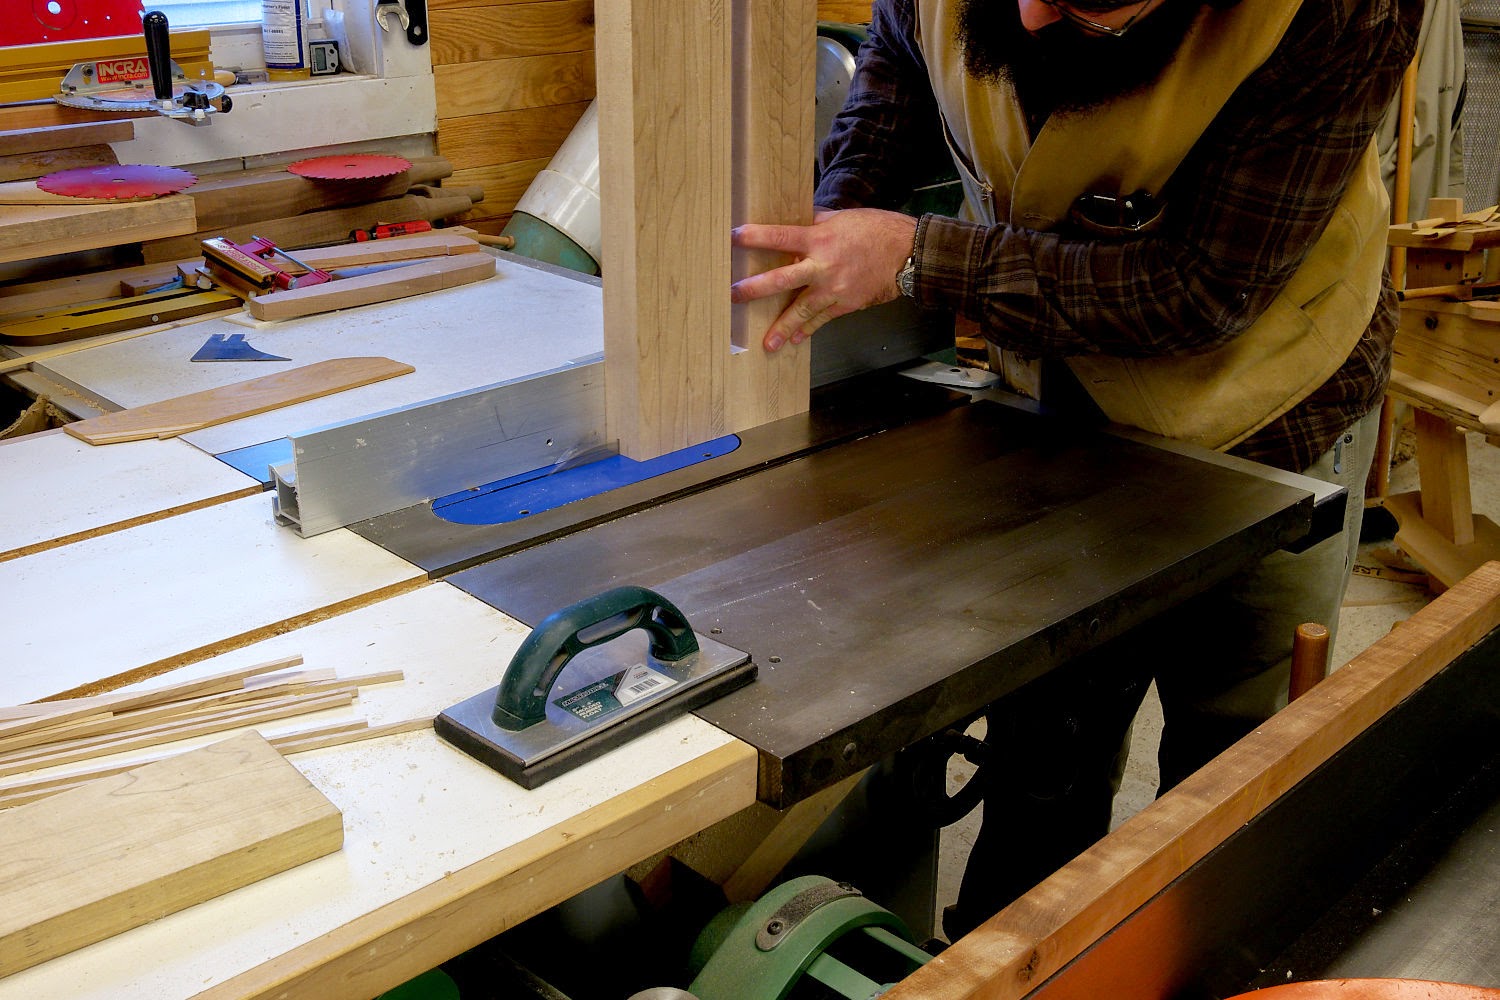
I cut the groove at the ends of the body on the table saw. This is simple stuff.
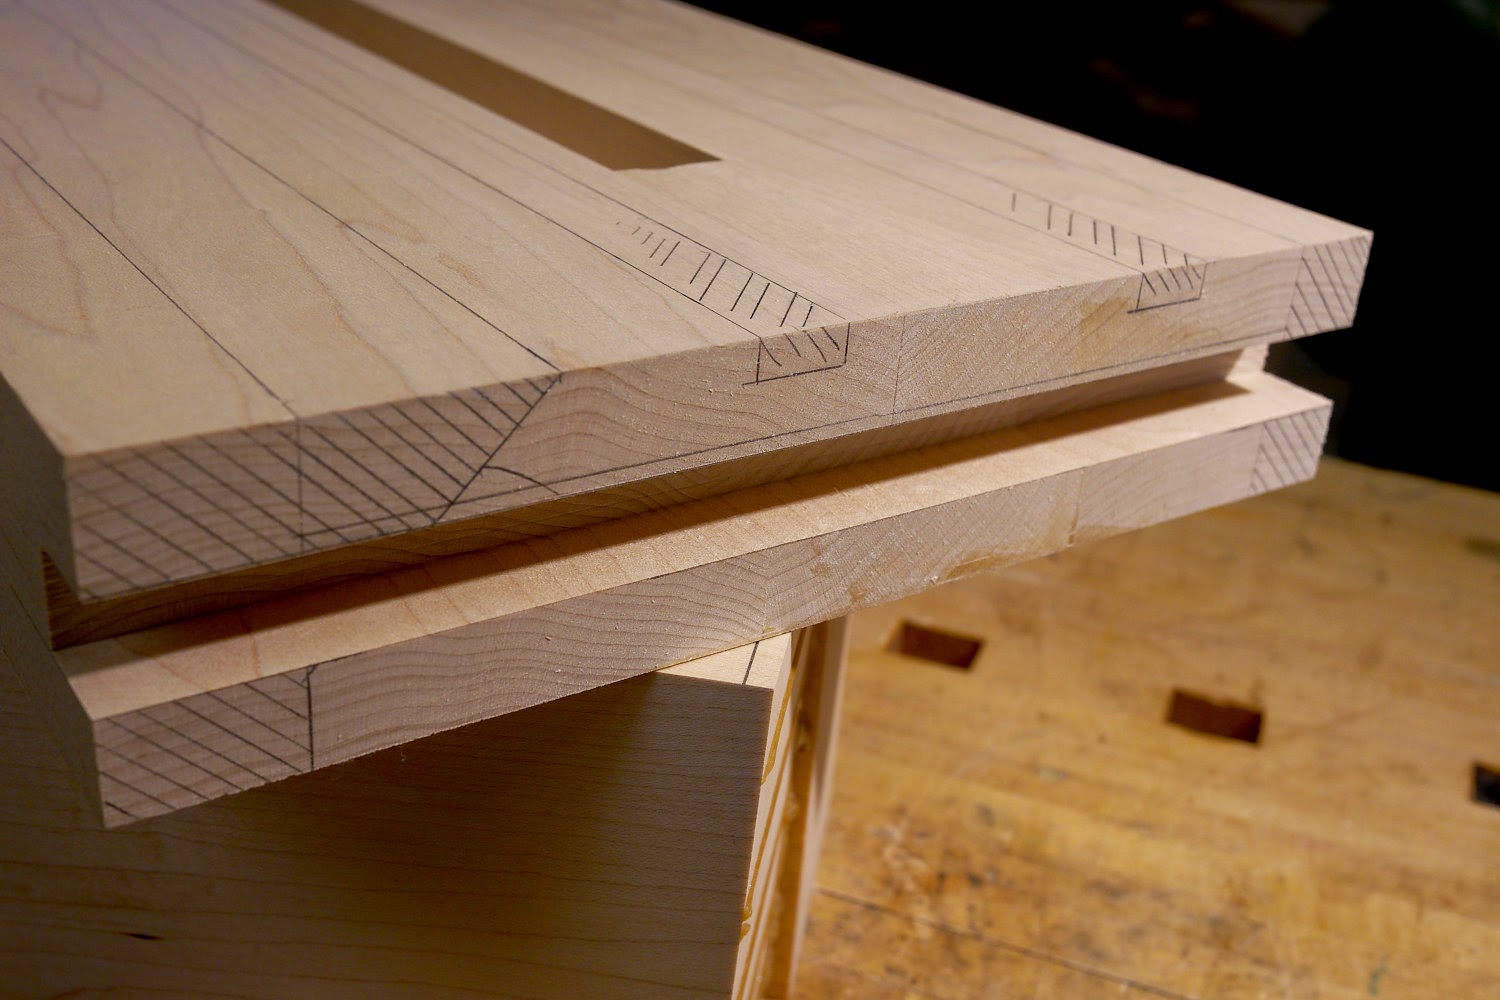
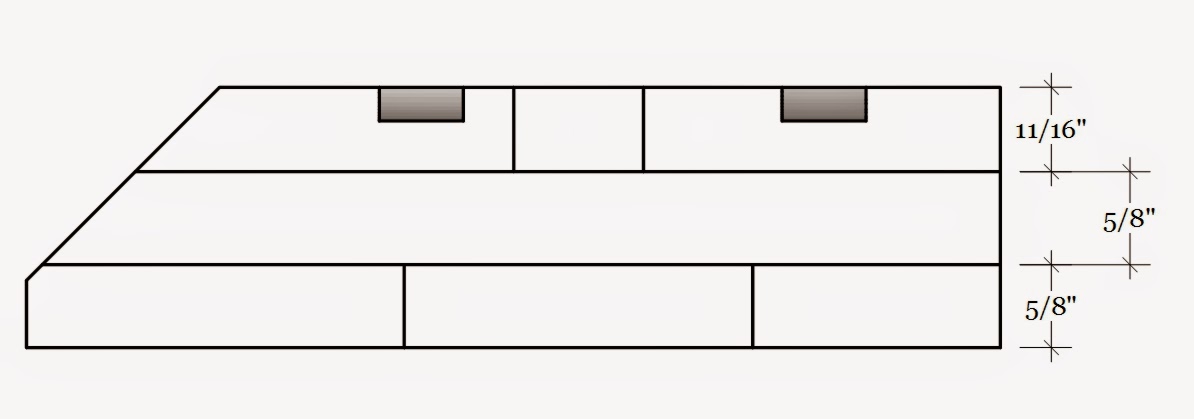
See that horizontal line above the groove? That's my layout line based on the SU drawing. Turns out the groove in the original is actually 5/8" wide, not the 11/16" in the SU drawing. It doesn't matter though. That's not some magical dimension. Either way will work. The way the original is built is reflected in the drawing below. Pay attention to the dims only, The lines themselves are still wrong. You must be on your toes if you're going to work in the Benchcrafted shop.
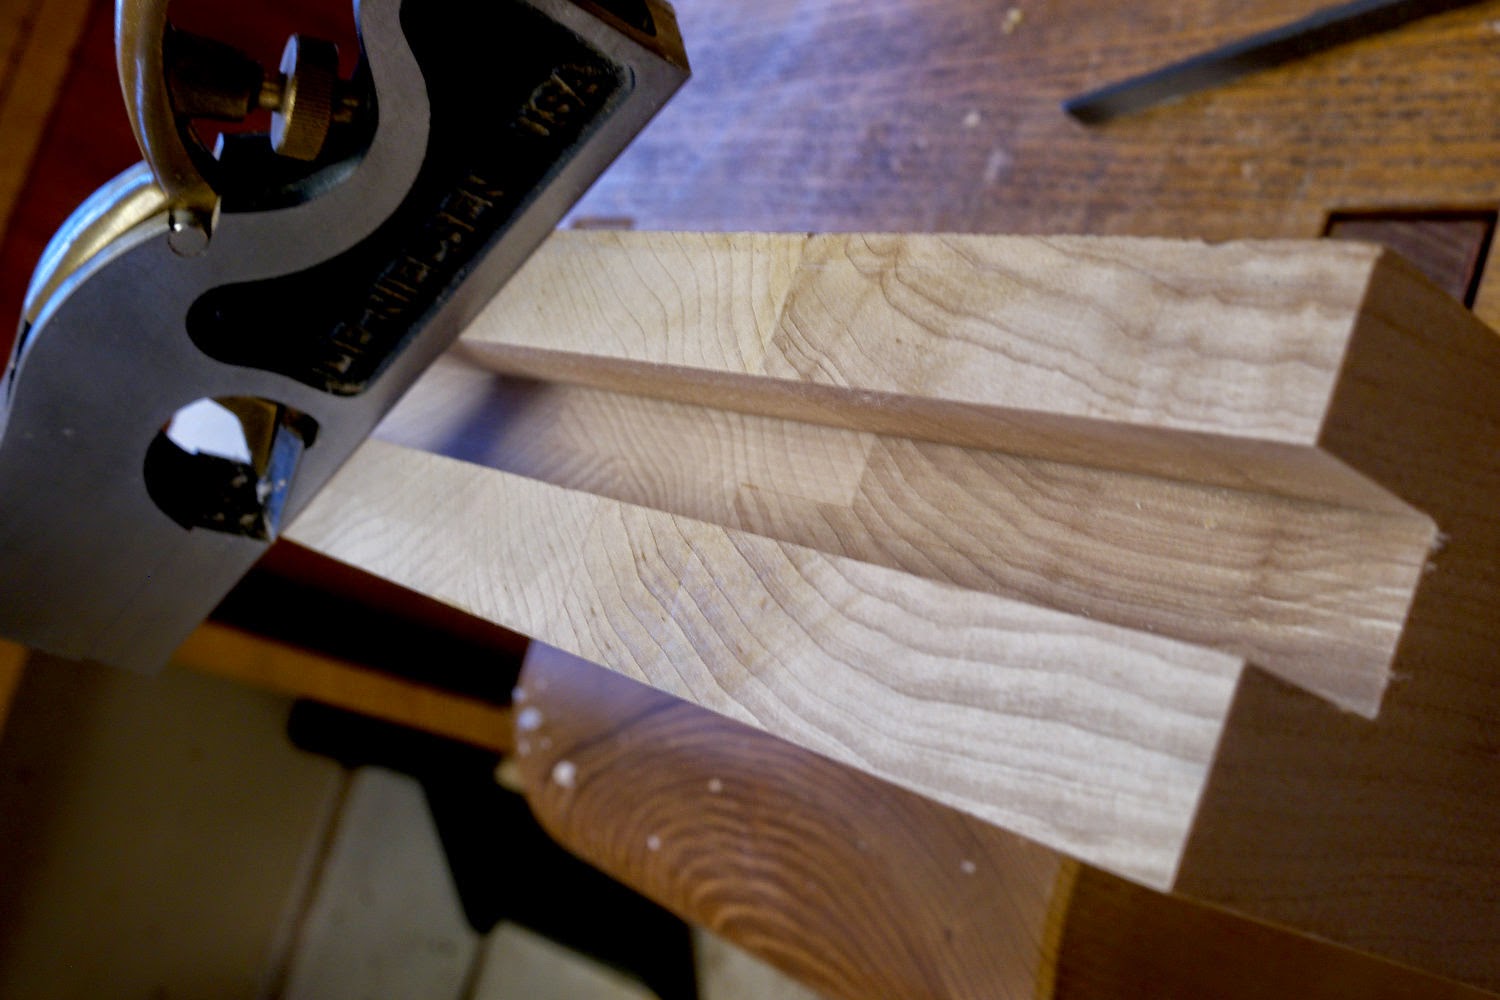
I use a combo blade on my table saw most the time, which leaves an uneven floor in the groove. I smoothed it with a small shoulder plane.
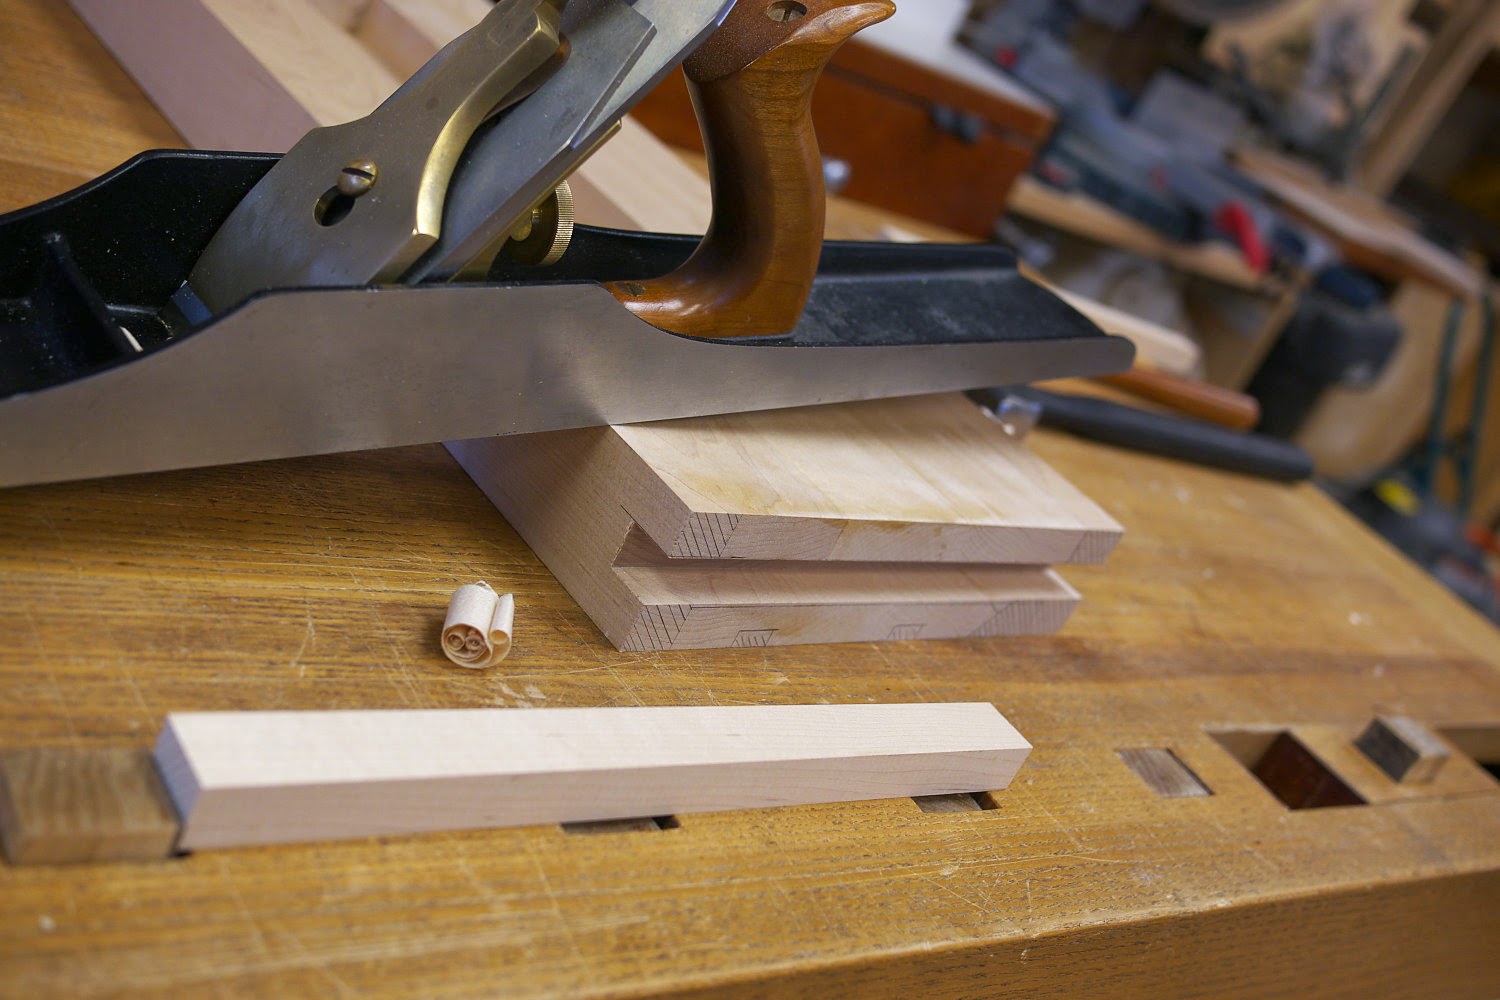
The offcuts from cutting the rabbets in the body components are the perfect size for the splines. They'll just need a few passes with a hand plane to get a nice tight fit. This time of year I fit them really tight. You should too. If you can, orient the radial plane vertically, so most the movement in the spline is along the depth of the groove. This will help keep the spline in place over the long haul.


I glued the splines in place and called it a day.
 Made in the U.S.A.
No comments:
Post a Comment
Note: Only a member of this blog may post a comment.